Back Traction Table Setup: Step-by-Step for New Users

Setting up a back traction table can seem daunting for new users, but with the right guidance, it can be a straightforward process. At Advanced Chiropractic Equipment LLC, we understand the importance of proper setup to ensure effective treatment and patient safety. In this article, we will walk you through a step-by-step guide to setting up your back traction table, helping you get the most out of your chiropractic practice.

Understanding the Back Traction Table

Before diving into the setup process, let’s briefly discuss the purpose of a back traction table. This specialized equipment is designed to relieve pressure on the spine and improve spinal alignment through gentle traction. The Ring Dinger® and Johnson Y Axis Adjustment® techniques are examples of how these tables can be utilized effectively in chiropractic care.

Key Components of the Back Traction Table

Familiarizing yourself with the components of the back traction table is essential for a successful setup. Here are the primary parts you should know:

  • Table Frame: The sturdy base that supports the entire structure.
  • Adjustment Mechanism: This allows you to modify the table’s height and angle for optimal patient comfort.
  • Straps and Padding: These components help secure the patient safely during treatment.
  • Control Panel: The interface for adjusting settings and monitoring the traction process.

Step-by-Step Setup Process

Step 1: Choose the Right Location

Selecting the right location for your back traction table is crucial. Ensure the area is spacious enough for the table and allows easy access for both the chiropractor and the patient. Ideally, the table should be placed in a quiet, private space to promote relaxation during treatment.

Step 2: Assemble the Table

If your back traction table requires assembly, refer to the manufacturer’s instructions provided with your equipment. Here’s a general approach:

  1. Lay Out All Parts: Before starting, organize all components to ensure you have everything you need.
  2. Connect the Frame: Begin by attaching the table frame according to the instructions. Ensure all screws and bolts are tightened securely.
  3. Attach the Adjustment Mechanism: Follow the guidelines to install the adjustment mechanism, ensuring it operates smoothly.

Step 3: Position the Table

Once the table is assembled, position it correctly. The height should be adjustable to accommodate different patients. Make sure the table is stable and level to prevent any accidents during treatment.

Step 4: Adjust the Settings

Now that the table is in place, it’s time to adjust the settings for the patient. Here’s how to do it:

  1. Height Adjustment: Use the adjustment mechanism to set the table to the appropriate height for the patient. The table should be at waist level for easy access.
  2. Angle Adjustment: Depending on the treatment plan, you may need to adjust the angle of the table. This can enhance the effectiveness of the traction.
  3. Traction Settings: If your table has a control panel, set the desired traction force and duration based on the specific needs of the patient.

Step 5: Prepare the Patient

Before beginning treatment, ensure the patient is comfortable and informed about the procedure:

  1. Explain the Process: Take a moment to explain how the traction works and what the patient can expect during the session.
  2. Position the Patient: Help the patient lie down on the table, ensuring they are centered and comfortable. Use the straps and padding to secure them safely.
  3. Check Comfort Levels: Ask the patient if they feel comfortable and make any necessary adjustments to ensure their safety and comfort.

Step 6: Monitor the Treatment

During the traction process, it’s essential to monitor the patient closely. Here are some tips:

  • Observe Patient Responses: Watch for any signs of discomfort or distress. If the patient expresses discomfort, be prepared to adjust the settings or discontinue treatment.
  • Adjust Settings as Needed: Depending on the patient’s feedback, you may need to modify the traction force or duration during the session.

Step 7: Post-Treatment Care

Once the treatment session is complete, it’s important to follow up with the patient:

  1. Gently Assist the Patient Off the Table: Help the patient sit up slowly and carefully assist them off the table.
  2. Discuss Aftercare: Provide the patient with aftercare instructions, which may include recommendations for stretching, hydration, or follow-up appointments.
  3. Document the Session: Record any relevant details about the treatment in the patient’s file for future reference.

Why Choose Advanced Chiropractic Equipment LLC?

At Advanced Chiropractic Equipment LLC, we are committed to providing high-quality chiropractic equipment and training. Our back traction tables are designed with safety and effectiveness in mind, ensuring you can deliver the best care to your patients. By utilizing our specialized equipment, you can enhance your practice and improve patient outcomes.

Ready to Elevate Your Practice?

If you’re a licensed chiropractor looking to enhance your practice with top-tier equipment and training, we invite you to explore our offerings. Our seminars and products are tailored to help you master the intricacies of chiropractic care, including techniques like the Johnson Y Axis Adjustment® and the Ring Dinger®.

For more information, visit our website or contact us directly. Let’s work together to elevate your chiropractic practice to new heights!

Share this post

Facebook
Twitter
LinkedIn

Official Team Ring Dinger® announcement regarding Advanced Chiropractic Equipment and Seminars ACES

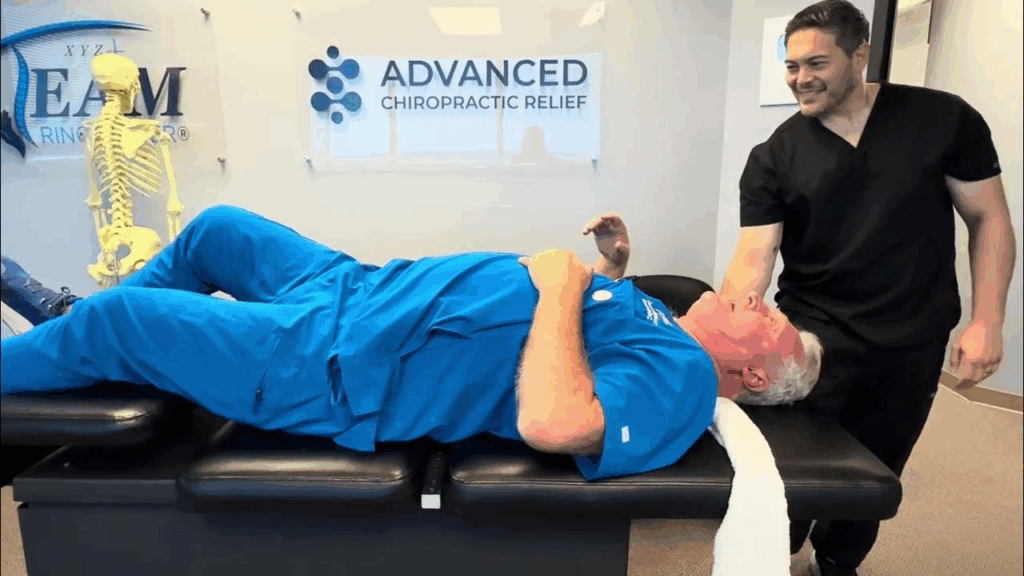
Advanced Chiropractic Equipment LLC will only accept licensed D.C.s who invest in our entire program using our comprehensive medical history protocols, adhere to our procedures and Registered Federal Trademarks in their chiropractic practices. To ensure public safety. Licensed D.C.s must perform very comprehensive medical history taking and make safe accepted clinical decisions for patient safety and/or referral to other healthcare providers when necessary. They must.use our specialized chiropractic table The Ring Dinger® table made by Hill Laboratories in Pennsylvania, enroll in and pass our Advanced Chiropractic Seminar using our history and exam protocols, procedures, adjusting techniques so they can deliver Johnson BioPhysics®, the Johnson Y Axis Adjustment® aka the Ring Dinger® adjustment safely and effectively to the public.

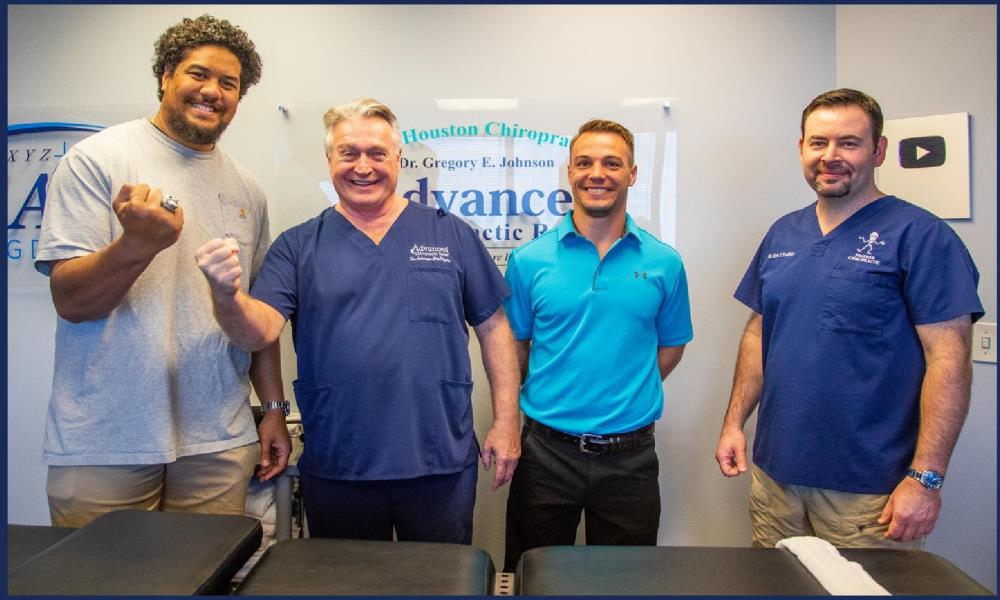
The Ring Dinger® Johnson Y Axis Adjustment® is a serious chiropractic adjustment and must be done the way Your Houston Chiropractor Dr. Gregory Johnson does it at Advanced Chiropractic Relief in Houston Texas. Official Team Ring Dinger® trained and certified by Dr. GregoryJohnson at Advanced Chiropractic Relief in Houston, Texas. ACES is building an elite Team of providers who comply with our procedures, protocols and chiropractic adjusting techniques as taught in our seminar to licensed D.C.s in the United States.

ACES now has worldwide trademark protection adding value to our foreign D.C.s who attend and pass our seminar, purchase our tables and use our trademarks in their digital marketing platforms. Our Official Team Ring Dinger® Chiropractors must be able to perform our adjusting techniques safely and effectively to the public. We teach all of these protocols and procedures in our three day Ring Dinger® seminar held every Monday, Tuesday and Wednesday from 8:30 AM CST to 4 PM in our Houston office, Advanced Chiropractic Relief.

Official Team Ring Dinger Practitioners must sign our contract spelling out the legal agreement to hold themselves out as trained and certified Team Ring Dinger Providers. This contract is on our website under legal. All Out of State US chiropractors must obtain a temporary Texas license from the Texas Board of Chiropractic Examiners TBCE so they can perform all of the Johnson BioPhysics® adjustments including the Johnson Y Axis Adjustment® aka the Ring Dinger® Y axis adjustment. Our seminar is by invitation only to qualified licensed chiropractors in the US. We only invite licensed D.C.s who purchase our full package of products and services to represent themselves as Official Team Ring Dinger Providers anywhere in the world. Dr. Gregory E Johnson has secured trademark protection around the globe to protect the investment that Official Team Ring Dinger Providers make when they sign up with us.

Advanced Chiropractic Equipment & Seminars welcomes all Licensed Chiropractors who want to provide our successful Chiropractic techniques, safely and effectively to the public using our protocols, procedures and business principles please fill out our seminar survey on our website here

Think You're Ready to Join the Official Ring Dinger® Team?

Only Licensed D.C.s Committed to Excellence Can Apply

Becoming part of the elite Team Ring Dinger® means adhering to strict protocols, using exclusive equipment, and completing our rigorous training. Ensure public safety and perform the Johnson Y Axis Adjustment® the way it was intended.